Multiple IP Address Ranges

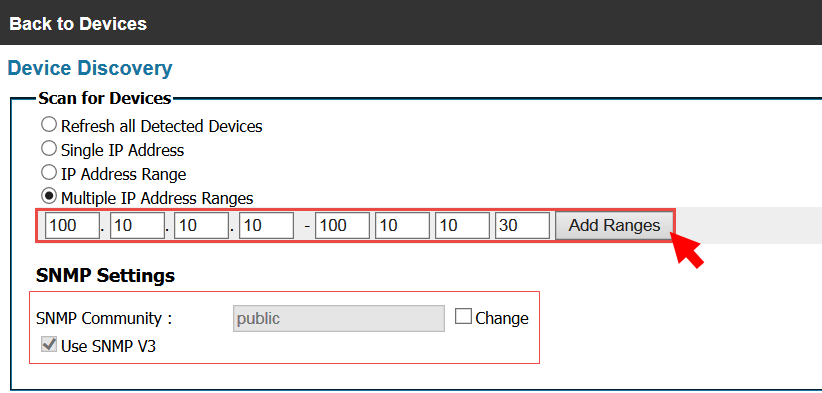
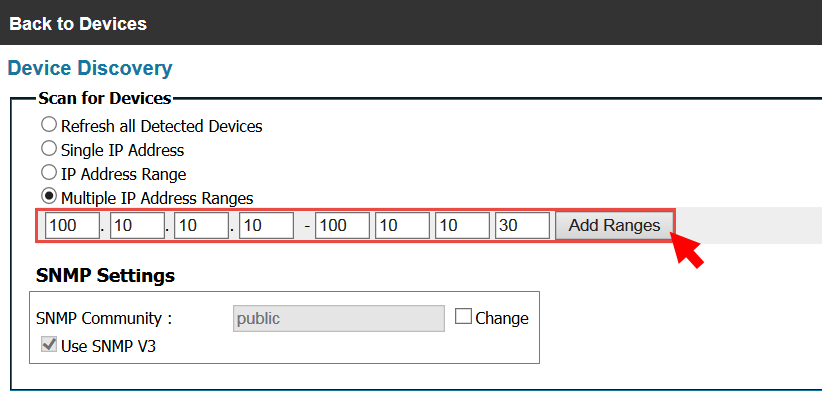
2. From the resulting screen, select Multiple IP Address Ranges. A valid MFP IP Address Range will be entered in the boxes. You may also change the SNMP Community name (public by default), as well as enable SNMP V3 by clicking on the respective boxes and entering the customer specific community name or required credentials. Once SNMP settings are set, click Start.
3. Enter the starting IP Address Range of the MFPs in the first four range boxes followed by the end of the IP Address Range in the remaining four boxes. Once the range is set, click Add Ranges.
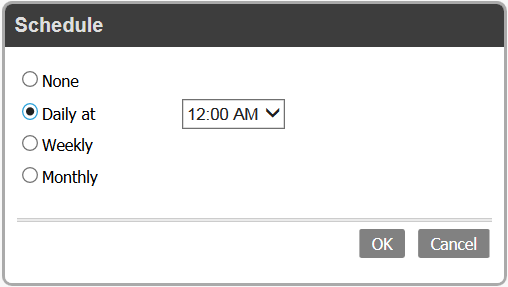
5. In the Schedule window, select the schedule you want by choosing how often you wish to schedule device discovery (None, Daily, Weekly or Monthly) and the time, day and/or month you want the process to start. This feature is ideal for environments that power down devices regularly or during off peak hours. Once the schedule is set, click OK.


